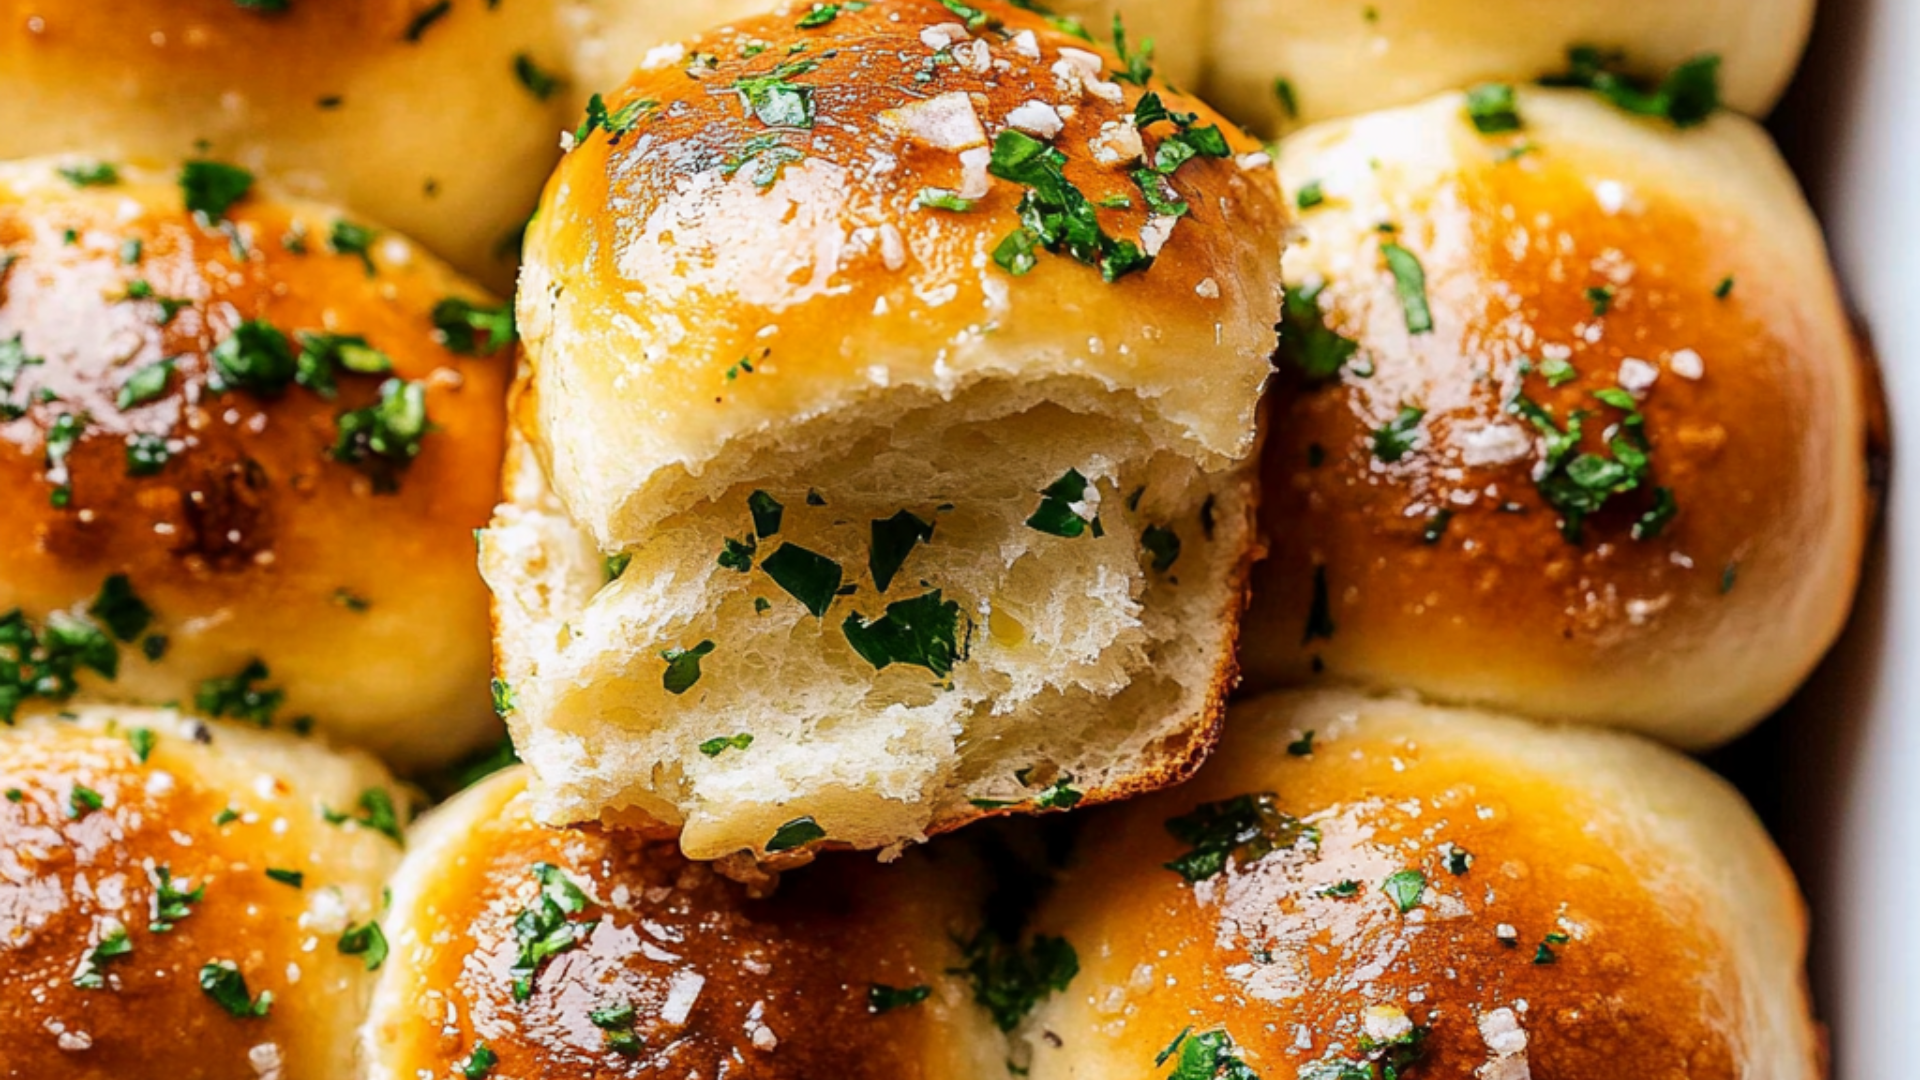
Craving a side dish that complements any meal? These Garlic Rolls are the perfect choice. Light, fluffy, and bursting with garlicky goodness, they’re perfect for everything from weeknight dinners to holiday feasts. Whether you’re a beginner baker or a seasoned pro, this recipe is simple and delicious.
Why You’ll Love These Garlic Rolls
- Soft and Fluffy: These rolls are light, soft, and melt in your mouth.
- Bursting with Flavor: The combination of garlic butter and fresh herbs gives these rolls an unforgettable taste.
- Perfect Side Dish: These rolls pair perfectly with pasta, soups, or just about any main dish.
Ingredients for Garlic Rolls
- 2 1/4 tsp active dry yeast
- 1 cup warm water (about 110°F/43°C)
- 1 tsp sugar
- 3 1/2 cups all-purpose flour
- 1 tsp salt
- 1/4 cup unsalted butter, melted
- 2 tbsp olive oil
- 2 cloves garlic, minced
- 1/2 cup fresh parsley, chopped
- 1/2 cup grated Parmesan cheese (optional)
How to Make Garlic Rolls
- Activate the Yeast
- In a small bowl, combine the warm water, sugar, and active dry yeast. Let it sit for 5-10 minutes until frothy.
- Make the Dough
- In a large bowl, combine the flour and salt. Add the yeast mixture, melted butter, and olive oil, and mix until the dough starts to form. Knead the dough on a lightly floured surface for about 8 minutes, until smooth.
- Let the Dough Rise
- Place the dough in a greased bowl, cover with a clean towel, and let it rise for 1-2 hours, or until doubled in size.
- Form the Rolls
- Punch down the dough, then divide it into 12 equal pieces. Roll each piece into a ball and place them on a greased baking dish or a lined baking sheet.
- Prepare the Garlic Butter
- In a small saucepan, melt the butter and garlic over medium heat. Once the butter is melted and the garlic is fragrant, remove from heat and stir in the chopped parsley.
- Coat the Rolls
- Brush the garlic butter mixture generously over the top of the rolls. If you like, sprinkle the grated Parmesan cheese over the top for an extra cheesy touch.
- Bake the Rolls
- Preheat the oven to 375°F (190°C). Bake the rolls for 15-20 minutes, or until golden brown.
- Serve and Enjoy
- Let the rolls cool for a few minutes before serving. These garlic rolls are perfect for dipping in extra garlic butter or enjoying on their own.
Tips for Perfect Garlic Rolls
- Use Fresh Yeast: Ensure your yeast is fresh for the best rise. If your yeast doesn’t bubble when mixed with water and sugar, it’s best to use new yeast.
- Don’t Overwork the Dough: Kneading the dough for 8 minutes is enough. Overworking it can make the rolls tough.
- Double the Garlic: For an extra punch, feel free to add more garlic to the butter for more flavor.
FAQs About Garlic Rolls
1. Can I make these garlic rolls ahead of time?
- Yes, you can make the dough ahead of time. After it has risen, punch it down and store it in the fridge for up to 24 hours. Let it come to room temperature before rolling it into balls and baking.
2. Can I freeze the garlic rolls?
- Yes, you can freeze the rolls either before or after baking. If freezing before baking, shape the rolls and place them on a baking sheet. Freeze until solid, then transfer to a freezer-safe bag. Bake directly from frozen, adding a few extra minutes of cooking time.
3. Can I add herbs to the dough?
- Absolutely! Fresh or dried herbs like rosemary or thyme can be added to the dough for an extra layer of flavor.
Why These Garlic Rolls Are a Must-Try
If you’re looking for a delicious, easy-to-make side dish that will impress, these garlic rolls are the answer. With minimal ingredients and simple steps, they’re perfect for both beginners and seasoned bakers. Whether you’re serving them with a hearty pasta, a fresh salad, or simply as a snack, these rolls will elevate any meal.


